
Install PingFederate: Standalone ZIP Setup & License Activation
Step-by-step guide to installing PingFederate standalone ZIP distribution, setting JAVA_HOME, running web services, and configuring initial license keys.
Prerequisites & Java Setup
System Requirements & Java Setup
PingFederate is an enterprise Java-based Federation Server. Installing and running PingFederate from the standalone ZIP archive requires a supported Java Development Kit (JDK 17 or Java 21 for PingFederate 13.x/12.x).
IAMCourses Notes
Java Requirement Note:
PingFederate requires a supported JDK (typically Java 17 or Java 21 for PingFederate 13.x). If it fails to launch or displays a Java missing warning, ensure JAVA_HOME is correctly exported in your terminal environment before running the startup scripts.
# Export Java 17 or Java 21 JDK path
export JAVA_HOME=$(/usr/libexec/java_home -v 17) # or -v 21

# Verify Java version
java -version
Key Port Allocation
- Port 9999 (HTTPS): Reserved for the PingFederate Administrator Console UI.
- Port 9031 (HTTPS): Reserved for the SSO Runtime Engine endpoints (SAML/OAuth/OIDC transactions).
Download PingFederate ZIP Archive
Official Product Distribution Download
Download the official PingFederate standalone ZIP distribution archive directly from the Ping Identity Downloads Page.
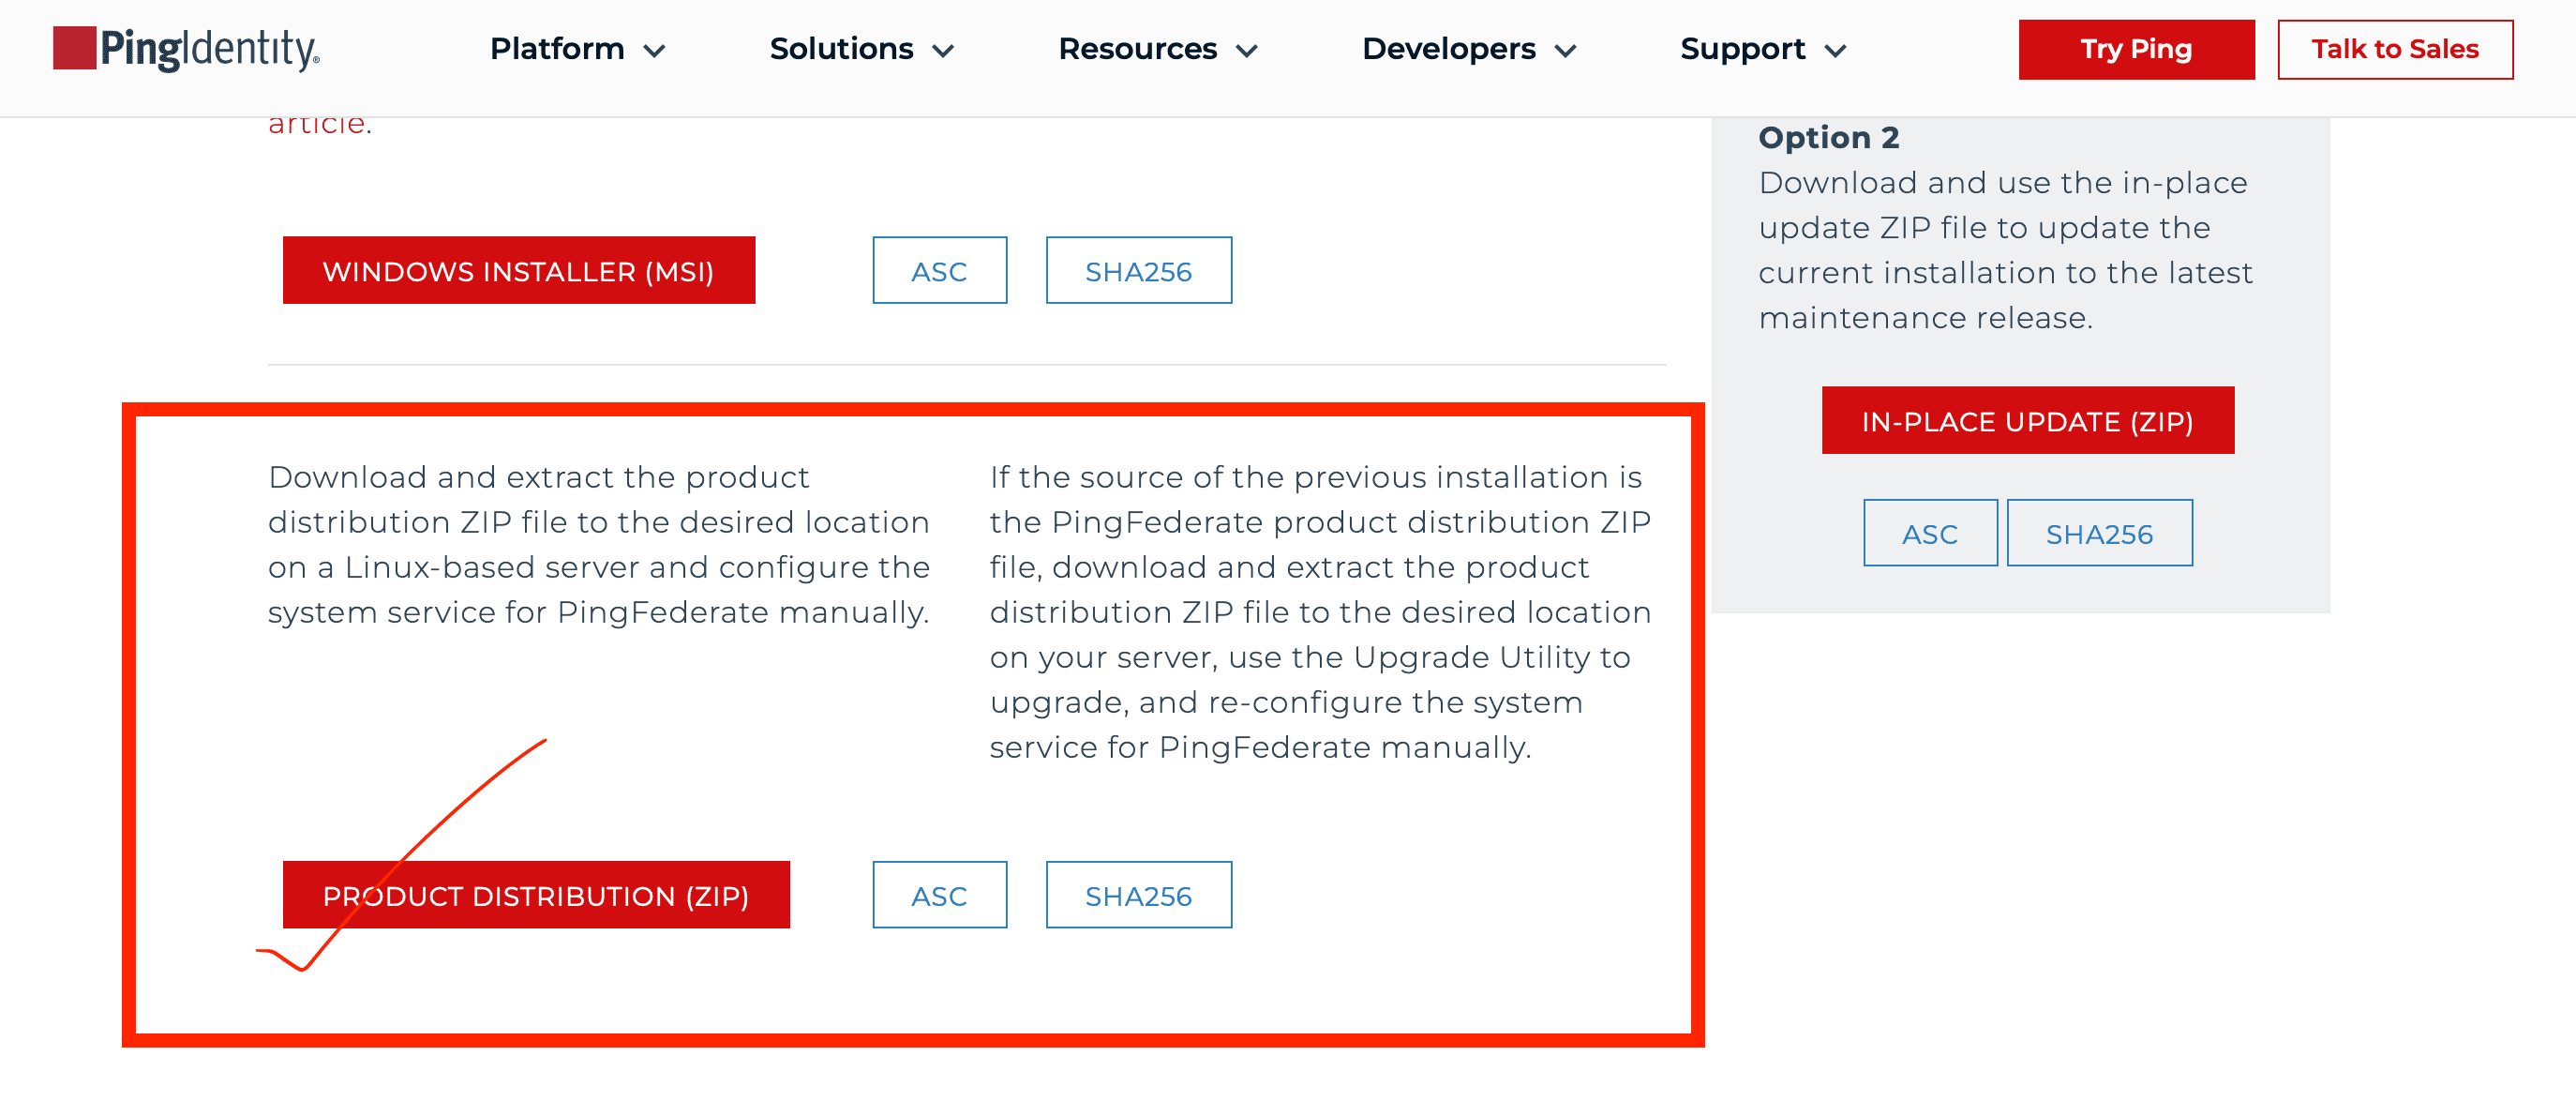
1. Select Product Distribution (ZIP)
On the Ping Identity download portal, navigate to Option 1 and select the PRODUCT DISTRIBUTION (ZIP) package option.
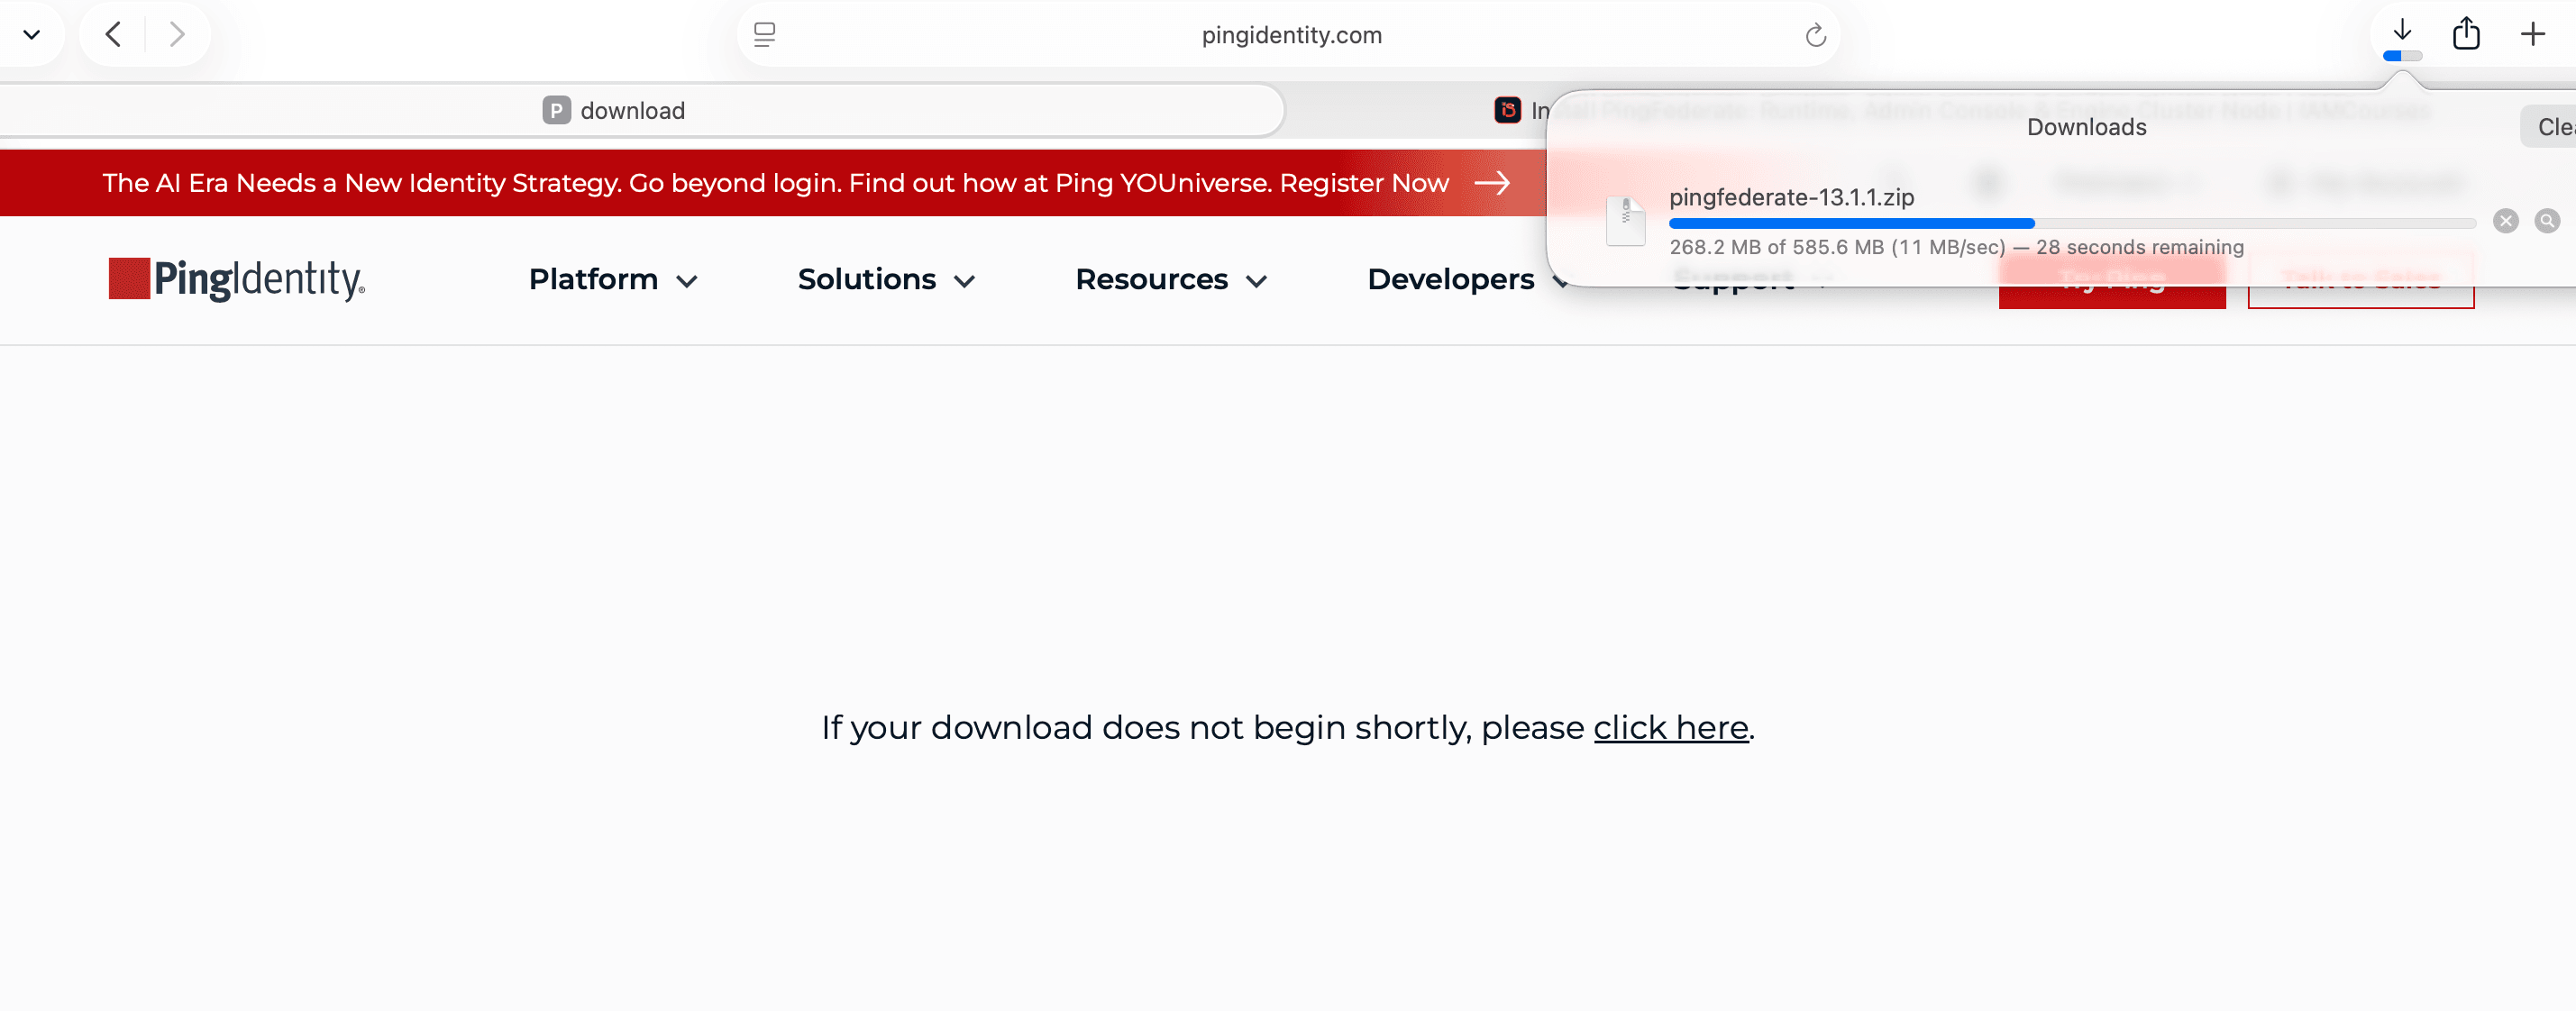
2. Download Progress
The browser will download the standalone distribution archive file (e.g. pingfederate-13.1.1.zip).
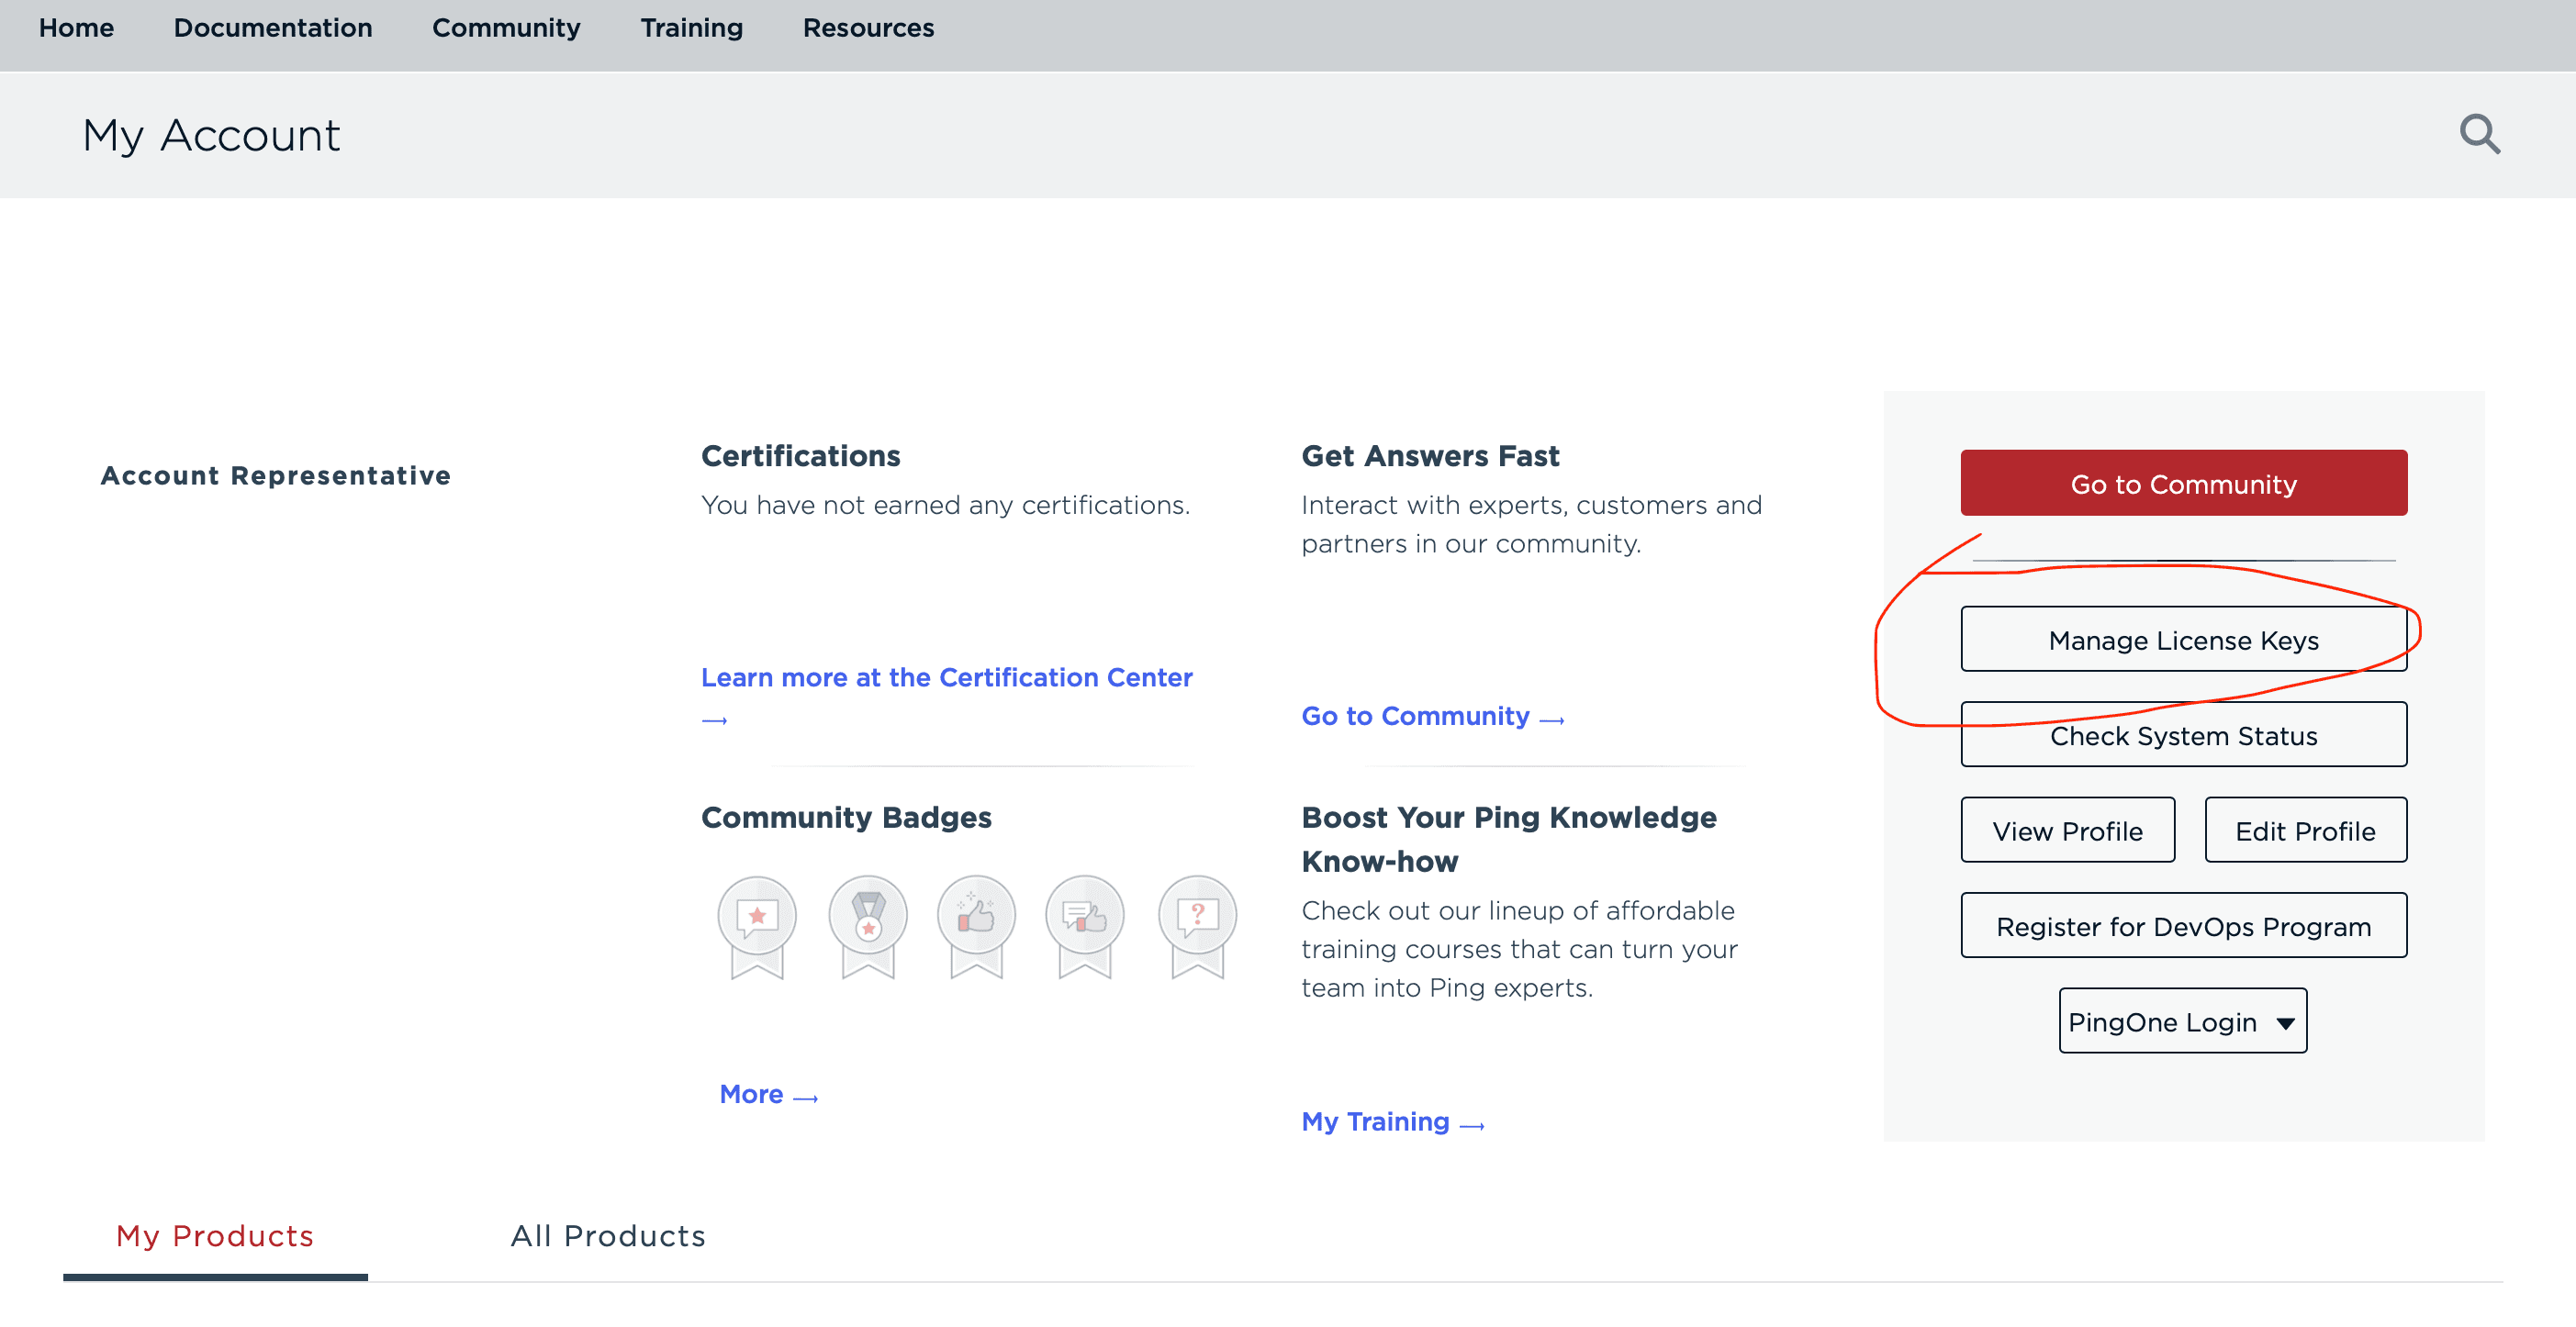
Download PingFederate License Key
Acquiring Your License Key File
PingFederate requires a valid license key file (pingfederate.lic) during initial web setup. You can generate or download your trial license directly from the Ping Identity Support Portal.
Extraction & Directory Layout
Unzipping the Distribution Package
Extract the downloaded ZIP package to your desired installation location on disk (e.g. ~/Downloads/pingfederate-13.1.1/ or C:\pingfederate\).
# Unzip the downloaded file
unzip pingfederate-13.1.1.zip

# Change directory into the bin folder
cd pingfederate-13.1.1/pingfederate/bin/
/bin/
Contains startup scripts (run.sh, run.bat) and management tools.
/server/default/conf/
Holds configuration files, SSL keystores, and server properties.
/pingfederate/log/
Contains runtime logs (server.log, admin.log, init.log).
Starting Services & Execution Stages
Launching the PingFederate Application Process
Navigate to the pingfederate/bin/ directory and execute the startup script to start the PingFederate server runtime.
# Launch PingFederate startup script
./run.sh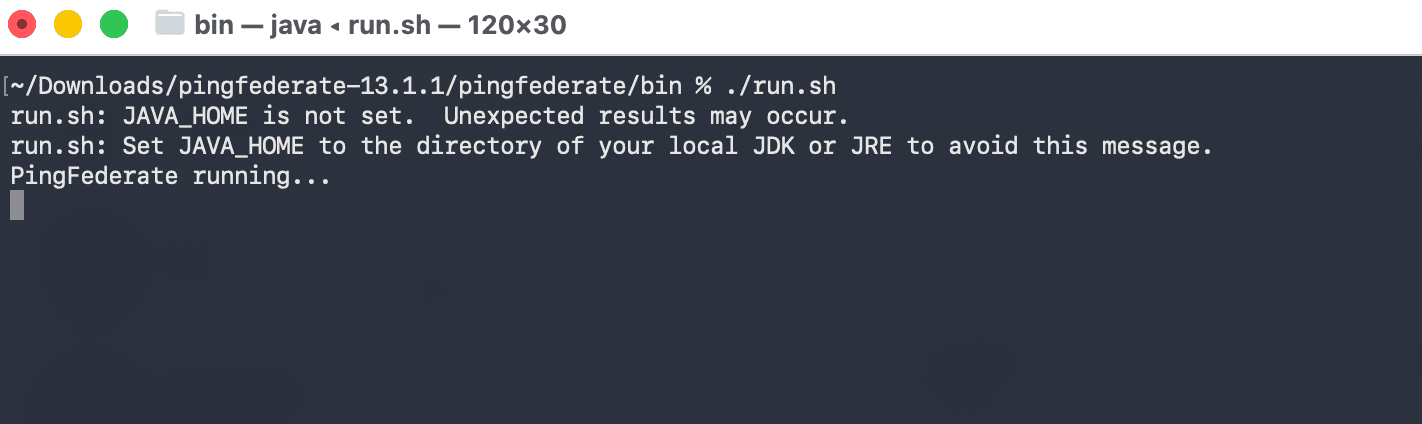
What Happens After Running ./run.sh:
- 1Initiated Execution (Folder:
pingfederate/bin/)Executes
run.shorrun.batto launch the PingFederate Java application process. - 2Deployed Web Applications (Folder:
pingfederate/work/)Extracts and compiles web WAR application archives for the Admin Console (port 9999) and SSO Engine (port 9031).
- 3Created Server Logs (Folder:
pingfederate/log/)Generates system log files including
server.log,init.log,admin.log, and JVM garbage collection logs. - 4Created Temp Storage (Folder:
pingfederate/server/default/tmp/)Creates the temporary runtime directory to hold active session data and temporary cache files.
- 5Updated Server State (Folder:
pingfederate/server/default/data/)Loads and initializes local configuration XML data and embedded HSQL server database files.
- 6Started Web Services & Endpoints
• Admin Console UI: https://localhost:9999/pingfederate/app
• Engine Runtime Port: https://localhost:9031/
First Access & EULA Setup Wizard
Accessing the Admin Console for First-Time Setup
Open your browser and navigate to https://localhost:9999/pingfederate/app. Bypass the browser self-signed SSL certificate warning to load the PingFederate Setup wizard.
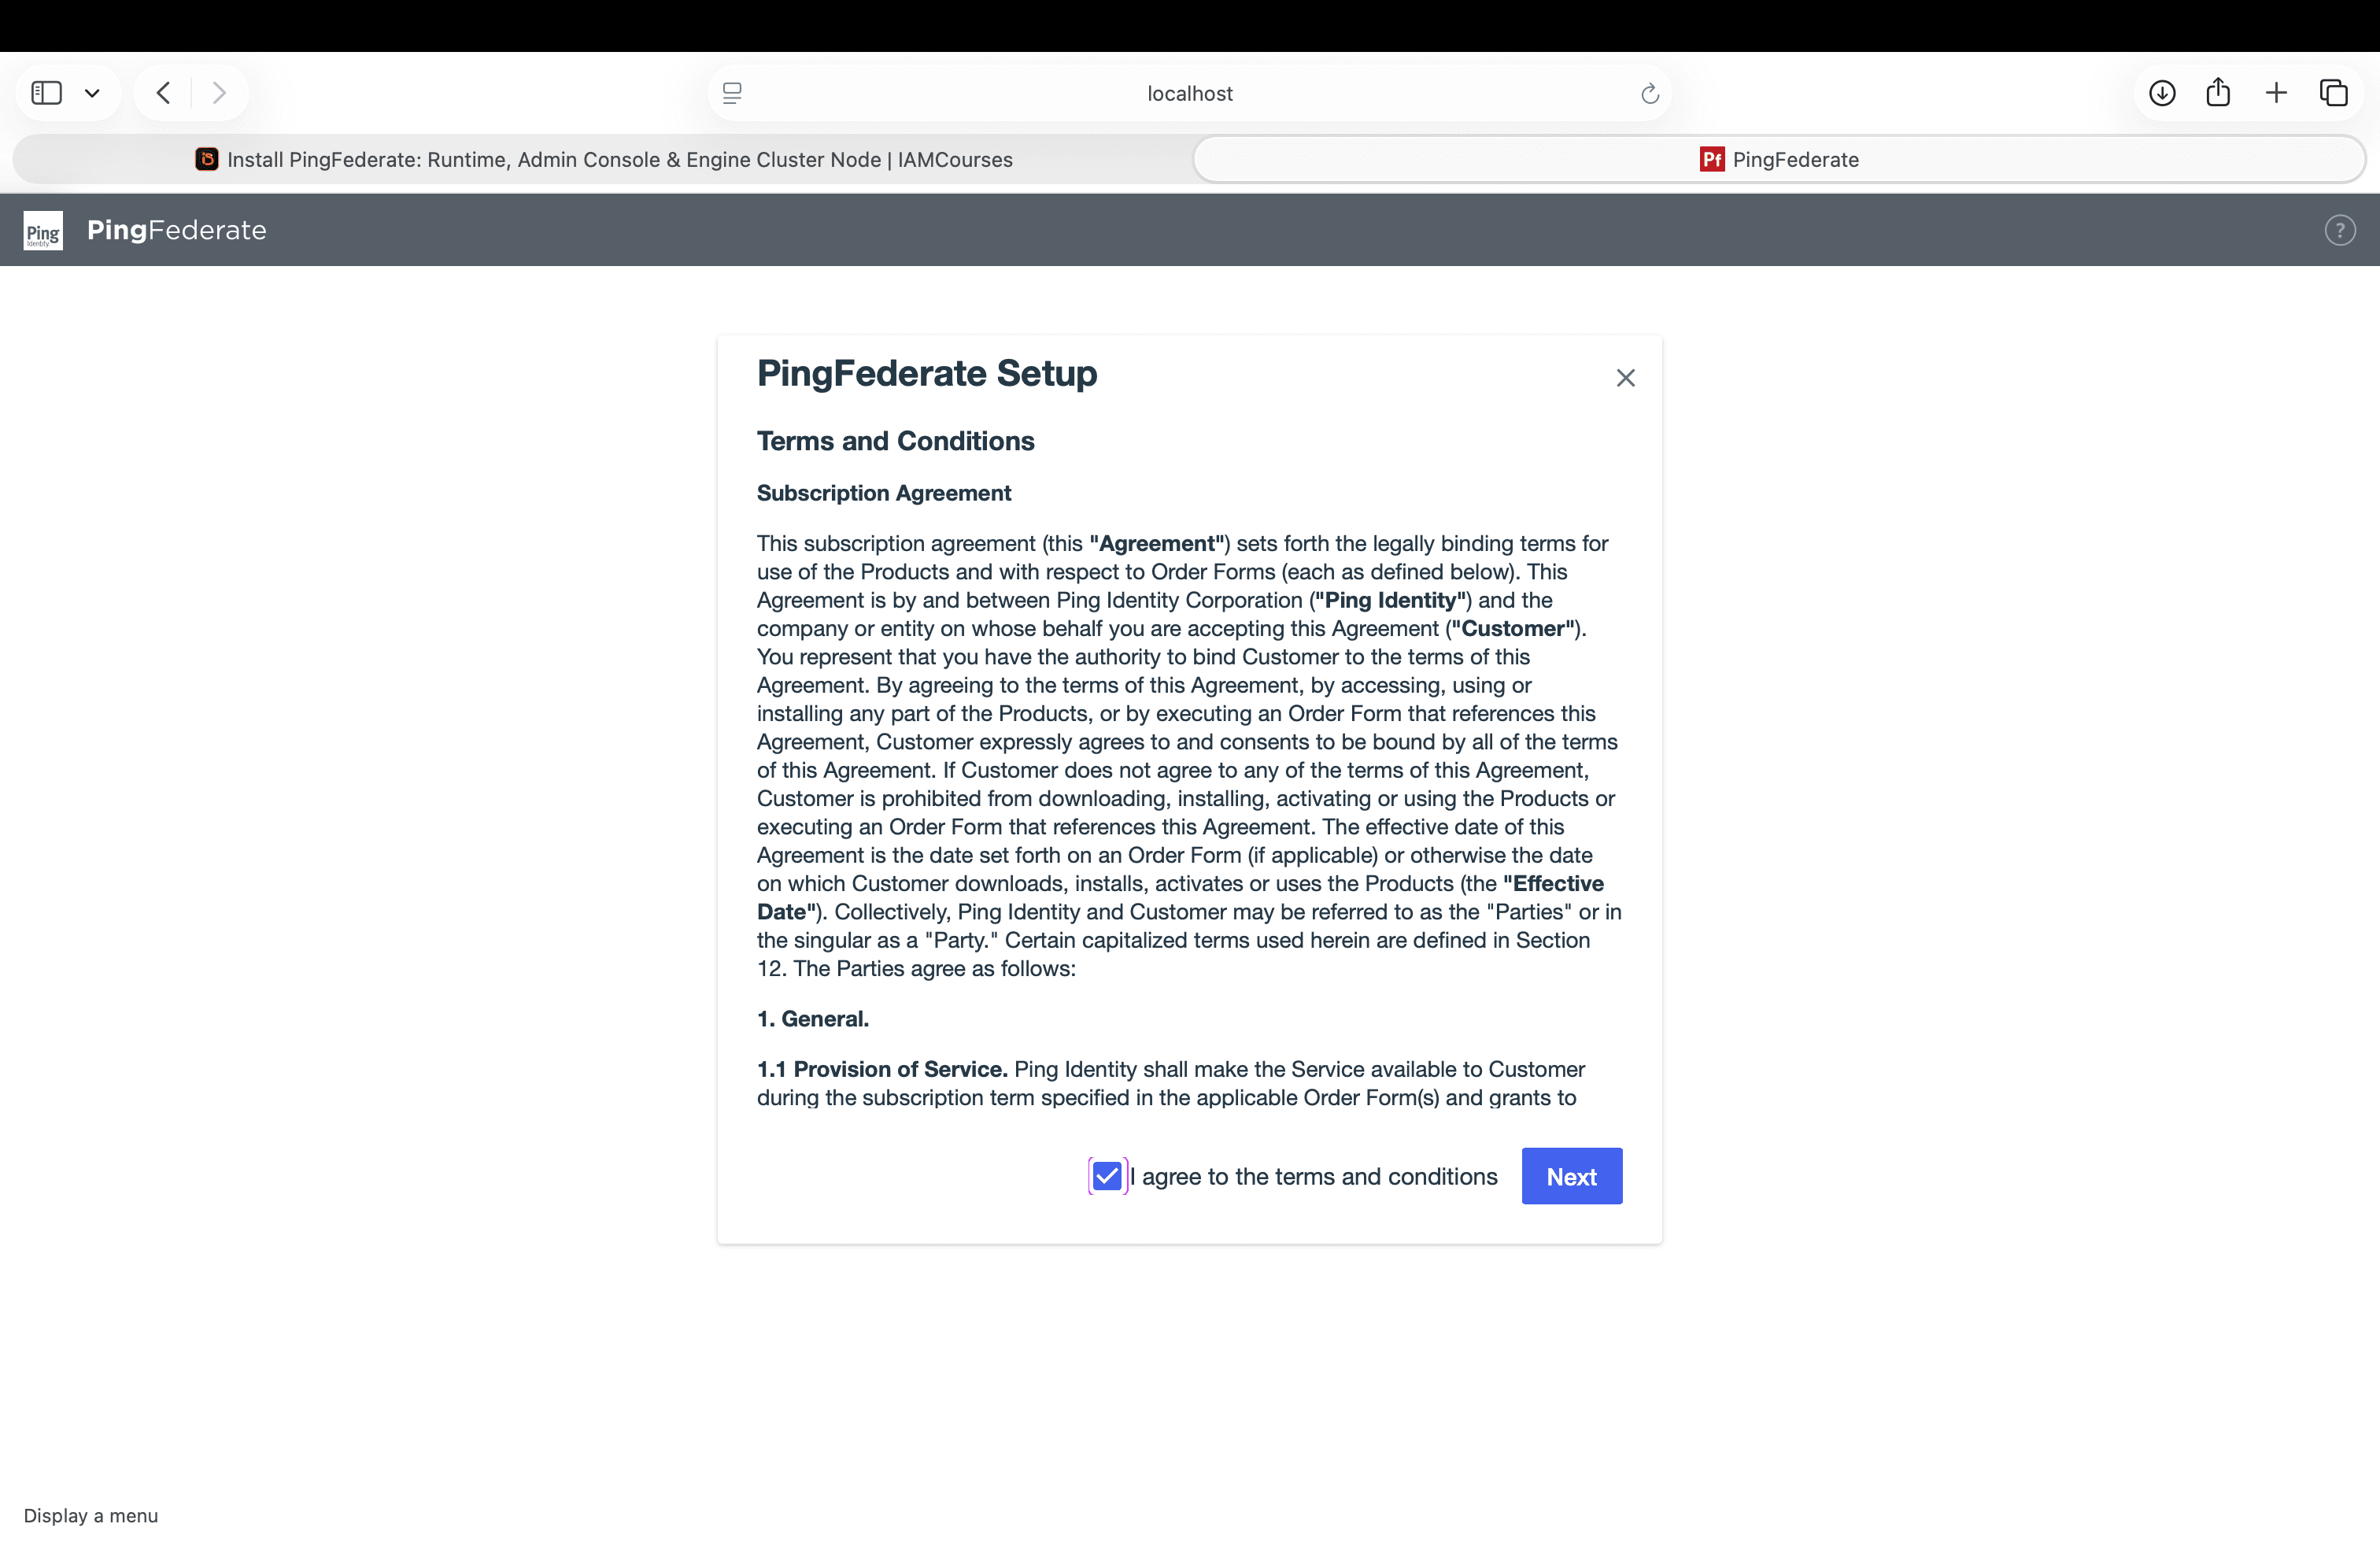
Accepting Subscription Terms & Conditions
On first access, PingFederate displays the Subscription Agreement & Terms and Conditions modal screen. Select the checkbox "I agree to the terms and conditions" and click "Next".
Verification & Dashboard
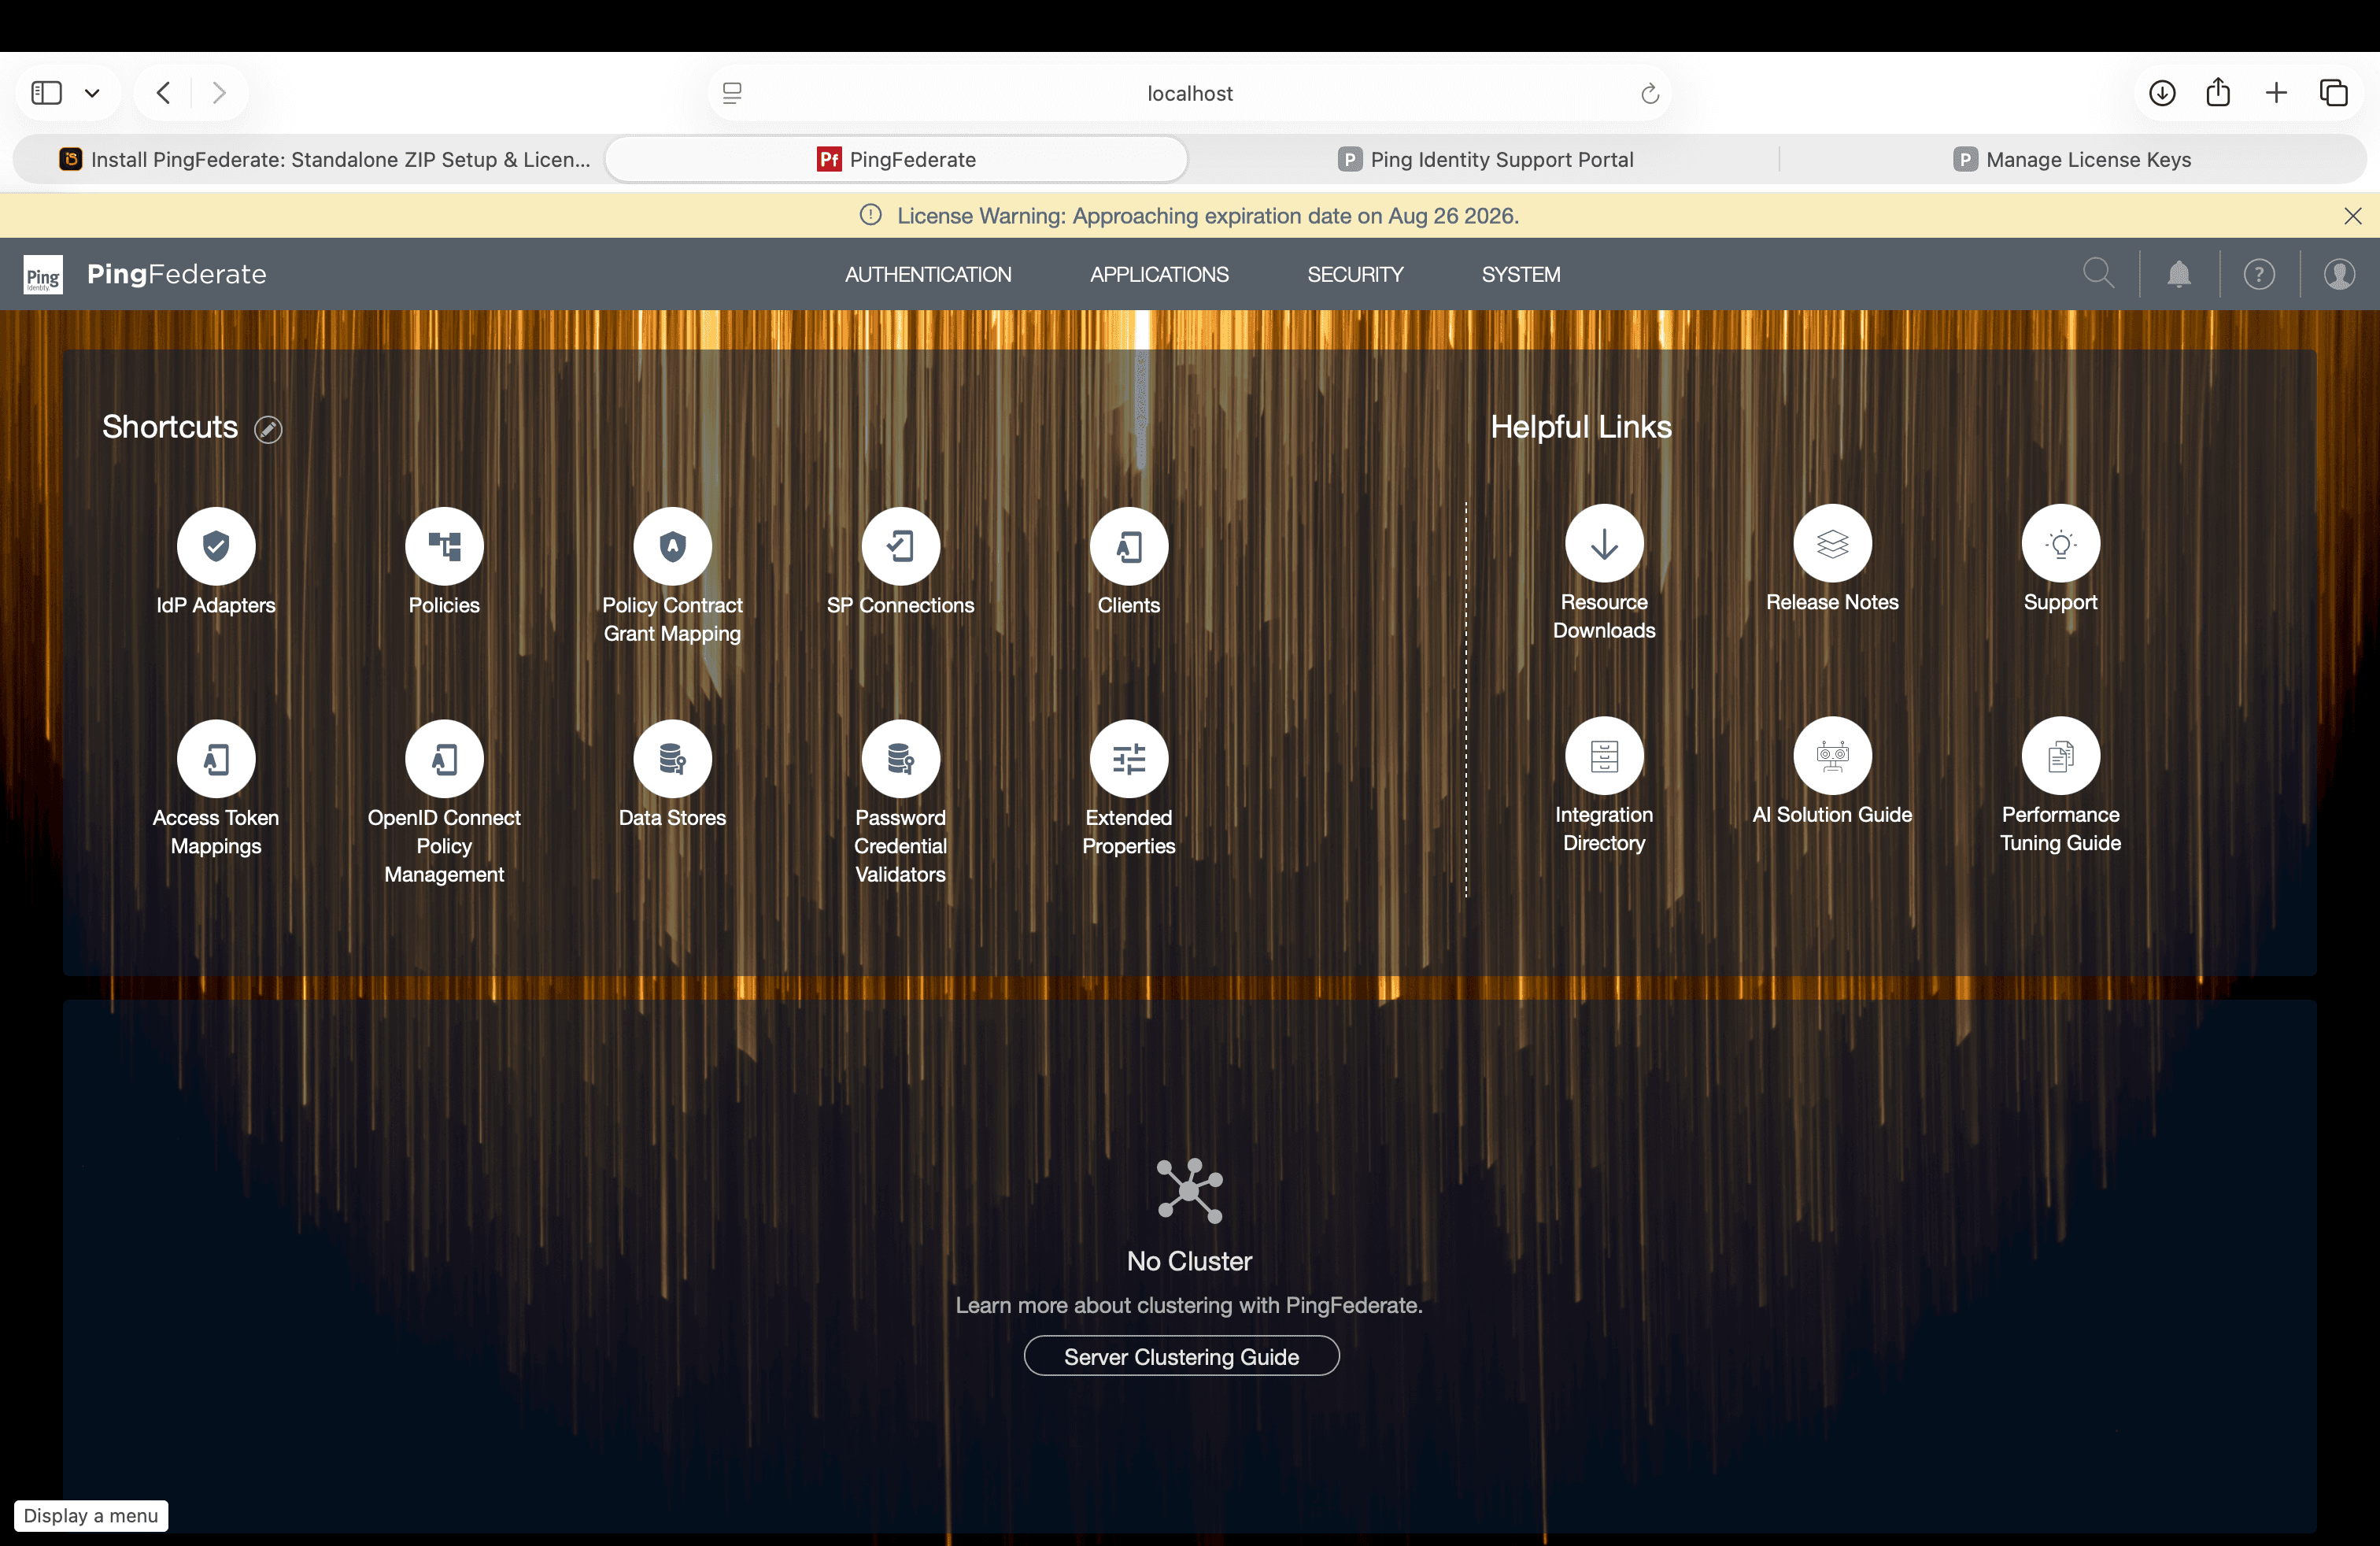
Admin Console Dashboard Overview
After completing initial setup and uploading your license key file, PingFederate launches the main Administrator Console Dashboard. From here, you can manage IdP Adapters, SP Connections, OAuth Clients, Data Stores, and Policy Contracts.
Success Verification Checklist:
- PingFederate service reports
PingFederate running...in terminal. - Admin Console is accessible at
https://localhost:9999/pingfederate/app. - Terms and conditions completed and license key uploaded.
- Main dashboard displays active shortcuts and standalone runtime state.
What's Next?
With PingFederate installed and running, you are ready to configure key identity providers (IdP), service providers (SP), and authentication adapters in subsequent lab modules!